





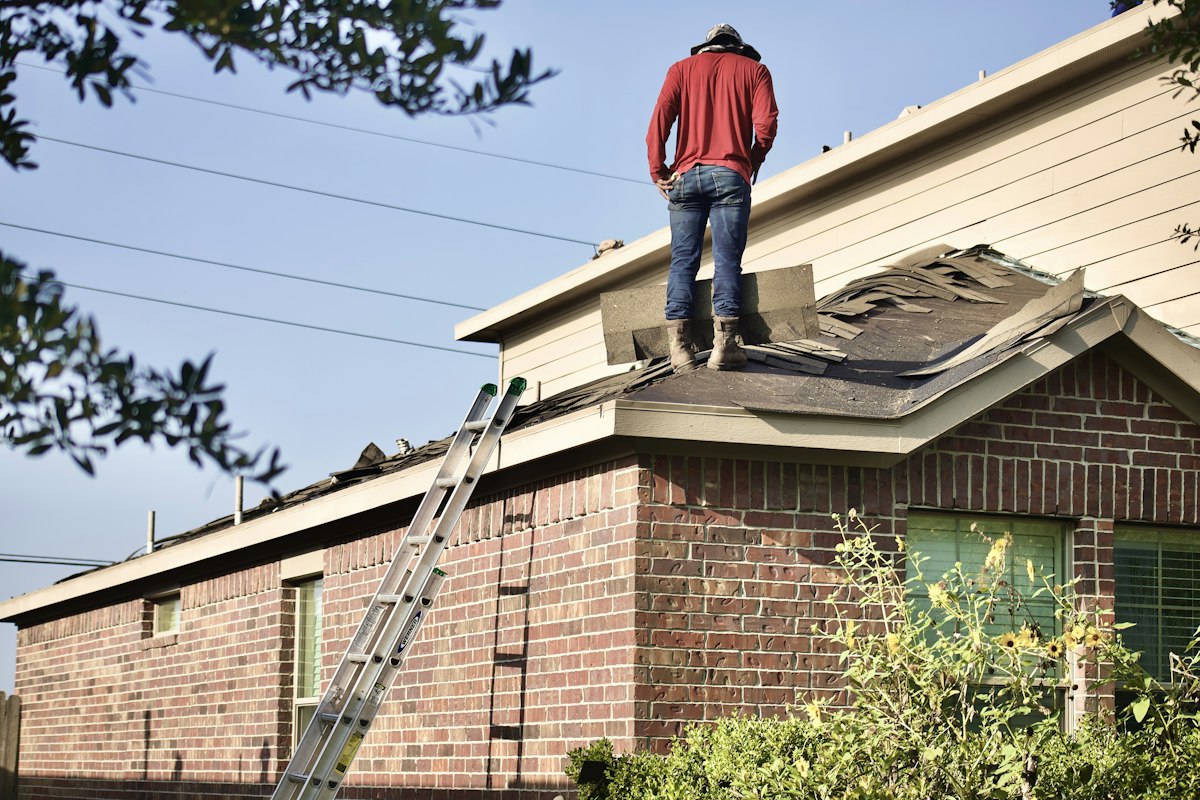







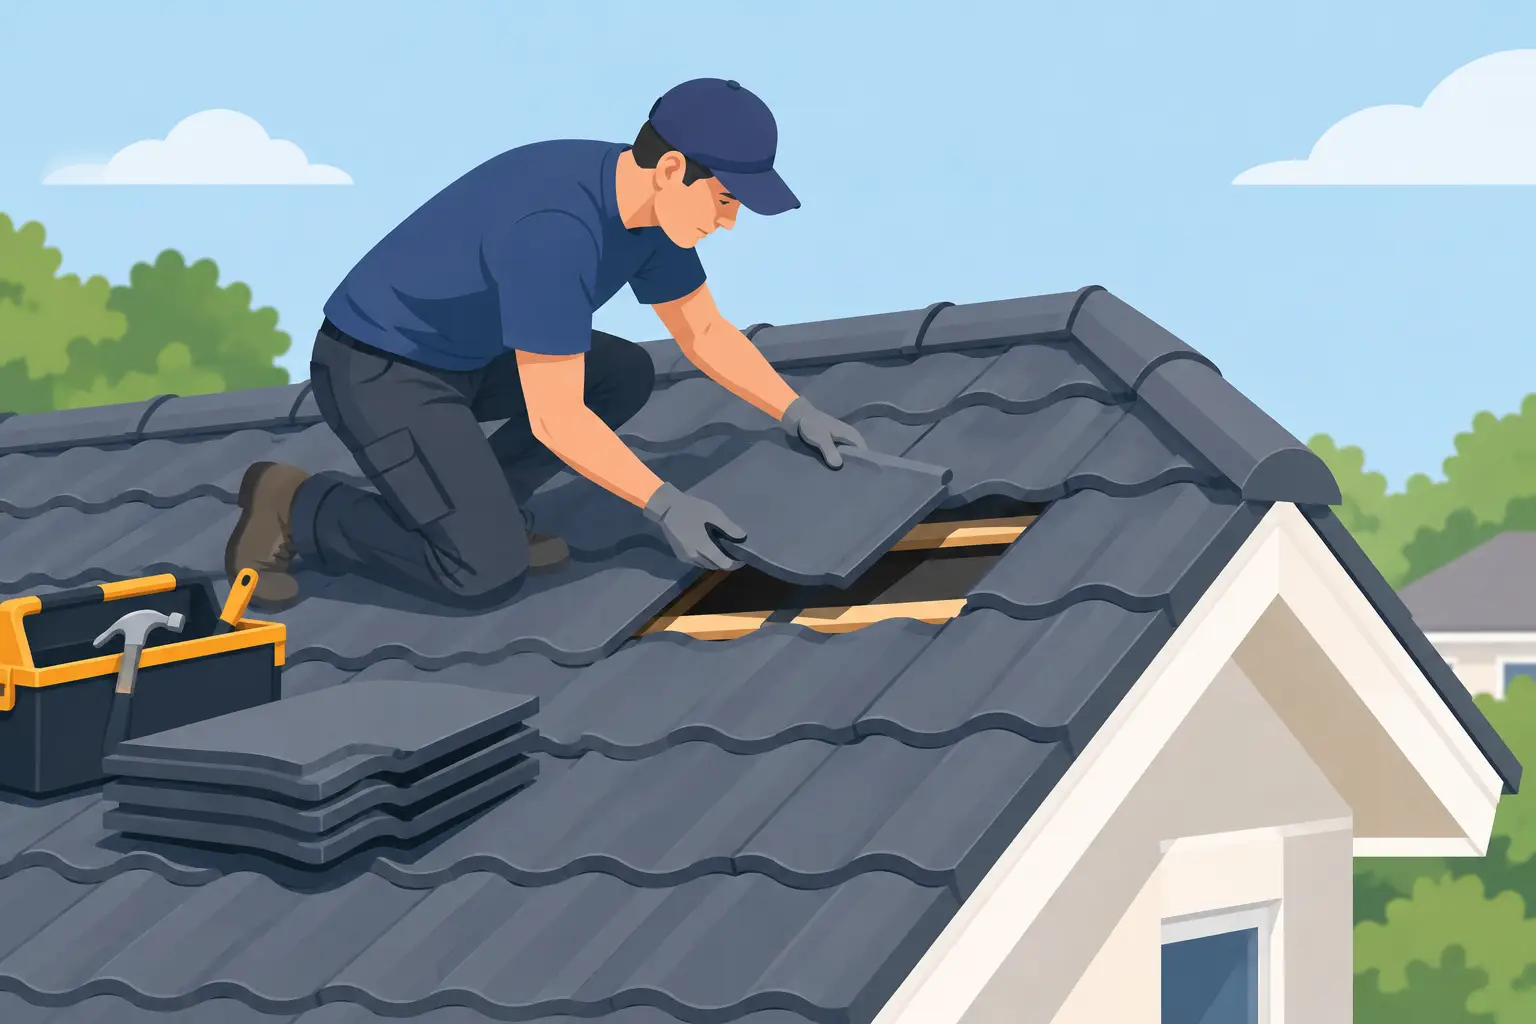
A tile lying in the gutter, sitting crookedly on the roof, or missing altogether can look like a small problem. It can, however, give wind-driven rain a direct route beneath the roof covering. Knowing how to repair slipped roof tiles starts with recognising what has moved, why it moved and whether the repair can genuinely be carried out safely.
For many homeowners, the most sensible first step is not climbing a ladder. A close inspection from ground level, followed by a professional assessment where access or damage is uncertain, protects both the property and the person trying to repair it. Roof work is rarely worth the risk of a fall or a temporary repair that allows water damage to continue unseen.
Why roof tiles slip in the first place
Roof tiles are designed to overlap and shed water down the roof. Depending on the roof type and age, they may be held in place by nails, clips, battens, interlocking edges or a combination of these. When one tile slips, the cause may be as simple as a failed nail, but it can also point to deterioration beneath the tile.
Strong winds are a common trigger, especially on exposed properties across the South East. Repeated freezing and thawing can crack older tiles, while rusted fixings can lose their hold over time. Timber battens may also decay if water has entered beneath the covering. On older roofs, movement can occur where original mortar bedding at a verge, ridge or hip has deteriorated.
This is why pushing a tile back into place is not always a repair. If the fixing, batten or surrounding tiles have failed, the same section may move again during the next spell of poor weather.
Check the problem from the ground first
Stand well back from the building and use binoculars if necessary. Look for displaced, cracked or missing tiles, but also check the roofline for sagging, loose ridge tiles and debris in the gutters. A slipped tile can break as it falls, leaving fragments that suggest a replacement rather than a simple repositioning is needed.
Inside the loft, use a torch to look for fresh staining, damp insulation, daylight around the affected area or drips after rainfall. Do not step between ceiling joists or disturb insulation unnecessarily. Even if the loft appears dry, it is still worth arranging the repair promptly. Water may be running along the underside of the felt before it becomes visible indoors.
Take clear photographs from the ground for reference. They can help identify the tile profile and show whether the issue worsens before the repair is completed.
Decide whether a DIY repair is appropriate
A limited repair may be suitable only where the tile is easy to reach from a properly secured access platform, the roof is low pitched, the weather is dry and calm, and the cause of movement is obvious. Even then, roof ladders, roof safety equipment and sound knowledge of the roof covering are essential.
Do not attempt to repair a slipped tile by standing on a conventional ladder and leaning over the roof edge. Do not walk directly on tiles, either. Tiles can crack under concentrated weight, while moss, damp surfaces and loose granules make a roof unexpectedly slippery.
Professional help is the safer choice where the roof is steep, more than one storey high, close to a valley or chimney, or where several tiles have slipped. It is also the right option if you can see damaged battens, loose mortar, torn underlay or signs of a leak. These are not surface-level faults.
How to repair slipped roof tiles correctly
The exact method depends on whether the roof has plain tiles, concrete interlocking tiles, clay tiles or slates. A professional roofer will first identify the material and fixing system, then use matching replacement components where required. Colour, profile and thickness matter because an ill-fitting tile can disrupt the way water drains across the roof.
Repositioning an undamaged tile
Where a tile has simply dropped from position but remains sound, the tile immediately above it normally needs to be lifted carefully to release the overlap. The slipped tile can then be slid back into its correct course, ensuring its nibs sit properly on the timber batten and its edges interlock with neighbouring tiles.
The tile should not be forced. Resistance can indicate a broken nib, a displaced batten, debris beneath the tile or an incorrect fit. Forcing it into place may crack the tile or lift the surrounding course, creating a larger route for water.
If the original nail or clip has failed, the tile should be re-secured using a suitable fixing for that specific tile and roof system. The fixing must hold the tile without damaging it or restricting the designed overlap. Random screws, expanding foam and heavy applications of mortar are not reliable substitutes for correct mechanical fixing.
Replacing a cracked or broken tile
A cracked tile should generally be replaced rather than repaired with sealant. Hairline cracks can widen under frost and movement, and sealant on the visible face often traps moisture or provides only a short-term cosmetic fix.
The replacement tile must match the existing roof as closely as possible. Once the tiles above are lifted, the broken tile can be removed without disturbing surrounding courses. Before the new tile is fitted, the batten and underlay beneath should be checked for damage. If either has deteriorated, the repair needs to extend beyond the tile itself.
On interlocking tile roofs, the side and headlocks must engage correctly. On traditional plain-tile roofs, maintaining the proper overlap is particularly important because the roof relies on multiple courses to keep rain out.
Repairs around ridges, hips and verges
A slipped tile at the edge or top of the roof needs additional care. Verge tiles may be affected by failed mortar or damaged dry-verge components. Ridge and hip tiles can become loose because of cracked bedding mortar, failed mechanical fixings or movement in the roof structure.
These areas are more exposed to wind and are often harder to access safely. Repointing a loose ridge tile without checking the remaining ridge line can leave a weak section next to the repair. A professional inspection is usually the best route for durable work in these locations.
Avoid these common temporary fixes
It is understandable to want to stop water entering quickly, particularly when rain is forecast. However, a rushed repair can create more costly work later. Avoid covering individual tiles with plastic sheeting secured under loose bricks, applying large patches of roofing cement over the face of tiles, or wedging broken pieces back into position.
If a tile has fallen and rain is imminent, keep people away from the area below and place a container in the loft or room beneath any active drip. A roofer may be able to carry out an emergency weatherproofing repair before returning to complete replacement work in better conditions.
Check the repair after the next rainfall
Once the work is complete, inspect the roof from the ground again. The replacement or repositioned tile should sit in line with the surrounding courses, with no raised corners or visible gaps. After heavy rain, check the loft for new moisture and look at the gutters for pieces of tile or mortar.
It is also wise to arrange periodic roof checks, particularly after storms and before winter. Catching isolated slipped tiles early can prevent wet insulation, rotten battens, ceiling staining and damage to the roof structure.
A roof does not need a major failure to deserve attention. Acting when the first tile moves gives you the best chance of keeping a straightforward repair small, controlled and protective of the home beneath it. Where safe access or the true cause is in doubt, Revive Roofing Solutions can assess the roof and carry out a repair designed to last.